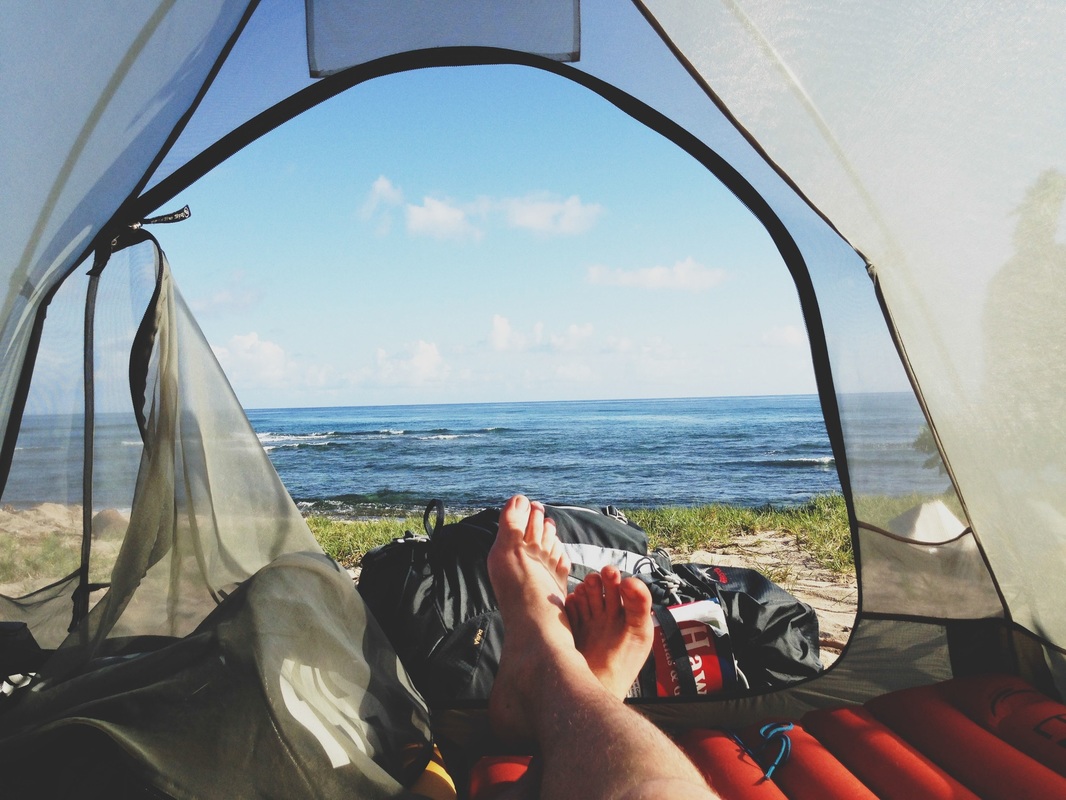
I'm James. This is my year of travel.

 
So within the same tool tab, the adjustments tool tab, we've got the styles and presets tool. 
I wanna put it on something else, why don't I save that as a style. So once we've pressed copy, I think you know I really like what it's done to this image. A style is a collection of all those different tools saved as one particular style. A preset that's just from one particular tool. So if you remember we spoke about tool presets. Now we might like to take what we've done here to this image, and then use it on something else. Let's say copy, straight away you can see everything that belongs to that image like so. Now once we've copied adjustments to the adjustments clipboard, let's just take this black and white for example. How to Create and Save Styles and Presets Sometimes when we load the images onto a computer, we don’t necessarily see exactly what we thought was there, or how it felt to be there.9 Image File Management Automation 06:42 10 Advanced Catalog Organization 17:41 11 How to Add Meta Data 12:42 12 Searching and Filtering Techniques 11:31 13 Further Catalog Strategies 07:09 14 Basic Selecting, Rating and Culling Techniques 15:31 15 Advanced Selecting, Rating and Culling Techniques 20:54 16 Basic Composing Techniques: Cropping, Rotation, Straightening 09:29 17 How to Correct for Perspective 12:35 18 Basic Tool Behavior 11:04 19 Tool Basics Part 1 22:44 20 Tool Basics Part 2 06:34 21 Converting to Black and White and Adding Grain 10:13 22 How to Apply Image Adjustments Globally 08:02 23 Sharpening and Noise Reduction 09:58 24 How to Create and Save Styles and Presets 07:40 25 Why Should You Shoot Tethered? 02:26 26 How to Set-Up Your Tethered Hardware 02:15 27 How To Set Up A Tethered Photoshoot Project 11:07 28 Basic Session Workflow Organizing And Making Selects 21:45 29 Basic Session Workflow Exporting 05:44 30 Advanced Session Workflow 15:00 31 Creating Selections With Smart Albums 06:20 32 Advanced Exporting 09:03 33 Saving Session Templates 03:14 34 Collaborating On Set With Capture Pilot 17:45 35 Using The Color Editor Basic Color Adjustment 15:26 36 Skin Tone Adjustments 09:30 37 Color Grading Using The Color Balance Tool 12:54 38 Image Processing Demo Perfecting Color 08:11 39 Create Masks for Local Adjustments using Brushes & Gradients 12:31 40 Advanced Local Adjustments using Masks 17:15 41 Dodging and Burning in Capture One 11:30 42 Creating Local Adjustments with the Color Editor 07:15 43 How to Use Local Adjustment Masks for Color Editing 03:43 44 How to Remove Objects in your Image 09:07 45 Image Processing Demo: Local Adjustments 05:57 46 Exporting with File>Export 08:07 47 Export Strategies and Proofing Previews with Process Recipes 11:49 48 How to Export for Social Media 05:11 49 More Clever Tricks with Capture One Pro 10 05:57 50 Final Q&A 13:11 So, why did you create Elevation Styles? Was there anything specific that inspired you to create them? I have taught people how to use Capture One Pro for more than ten years and I see people frustrated by the same thing: they find it difficult to get the photo to look like how they saw it at the time. Learn more about Paul’s journey and how Elevation Styles takes your images to the next level. Working with world-renowned photographer Paul Reiffer, the Elevation Styles pack was designed to ensure that your images retain the essence of the moment and bring decades of photographic experience to your images at the click of a button. Producing imagery that reflects the mood and feeling at the time of capture is of utmost importance, particularly when it comes to landscape photography and capturing vivid cityscapes. Find the Smart Adjustments Tool in the Adjust Tab. Edit one image to your liking with Exposure and White Balance. How to use Smart Adjustments So how do you use Smart Adjustments? Simply follow these steps: 1. With Smart Adjustments, these can now be automatically tuned to match a reference image of your choosing. The most critical adjustments for achieving a consistent look are Exposure and White Balance. The new tool, which has been designed for portrait, wedding, and event photographers, uses faces and skin tone as guidance to determine which adjustments to make to your photos. Smart Adjustments are here to help automate that part of your workflow. Get the right look with Smart Adjustments Getting a consistent look across many images can be difficult and time-consuming if they are shot under different lighting conditions. Here’s a rundown to get you excited to work faster, together, and, ultimately, less. 
Capture One Pro 23 offers a bunch of new tools and functionalities to make your workflow more efficient and flexible.
0 Comments
Leave a Reply. |
AuthorWrite something about yourself. No need to be fancy, just an overview. ArchivesCategories |
 RSS Feed
